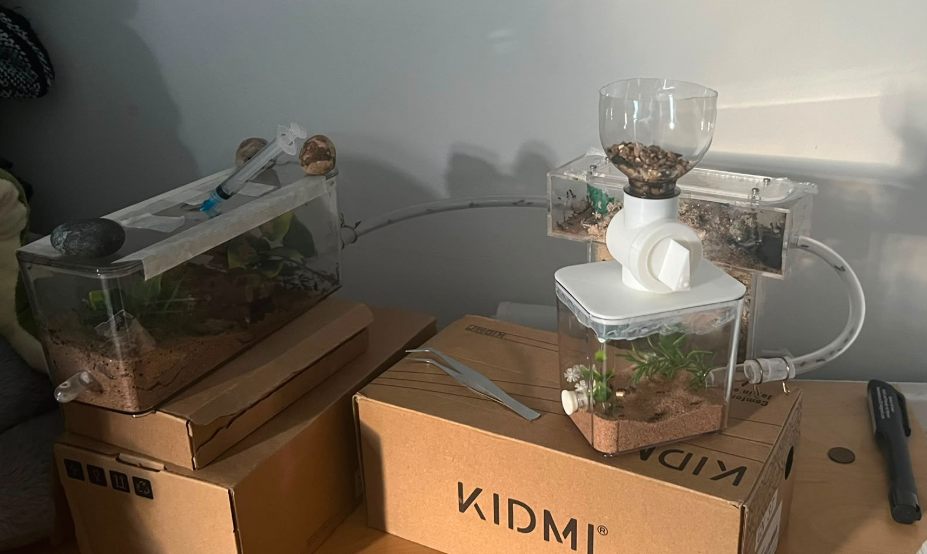
Ant feeder
Holidays are always tricky when you're responsible for plants/animals. Jinn (cat) is generally fine, but the cat sitter can't really take care of the aquarium or the ant farm.
To make it a bit easier to feed the ants, we decided to 3D print a better setup. In this post I'll explain the process, as there's a lot of experimentation before I landed on the final product. It started with a sketch I was given of the general idea. Here's the main part:
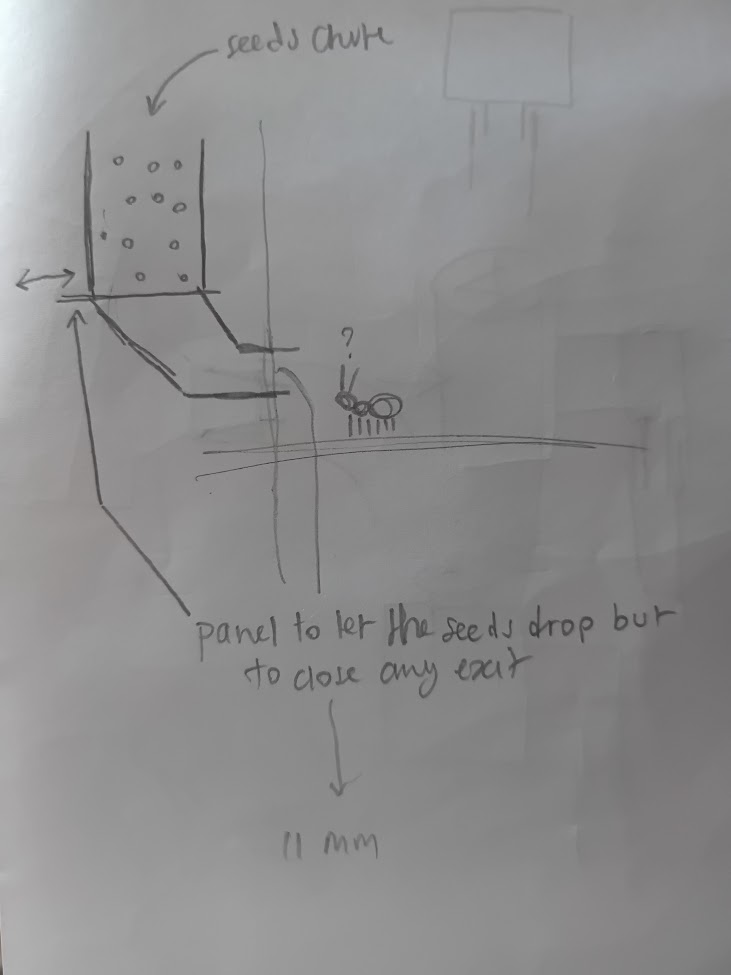
We also already had an acrylic container meant for this sort of thing. We'd connect this to the remaining containers via tubes and they can use this space for foraging food. I had just gotten new calipers as well with very high accuracy, so I measured the different parts of the container and wrote them down as well. The container also came with some rigid and flexible tubing.
So the first thing I did is look for any prior art of something that looks like a one-way valve. I knew that geometrically it's not possible to print something static that the ants can't climb out of, and previous experiments with Fluon coating weren't really successful. So there had to be moving parts, and I eventually came across this very neat coffee dispenser.
One cool thing about this is that the reservoir attachment just uses standard bottle cap threading, so already I can just reuse an old bottle for the top bit rather than wasting so much material. This made me think I could use the rotary valve part as-is, and simply adjust the radius of the outlet hole of the coffee dispenser to match the opening on the side of the container.
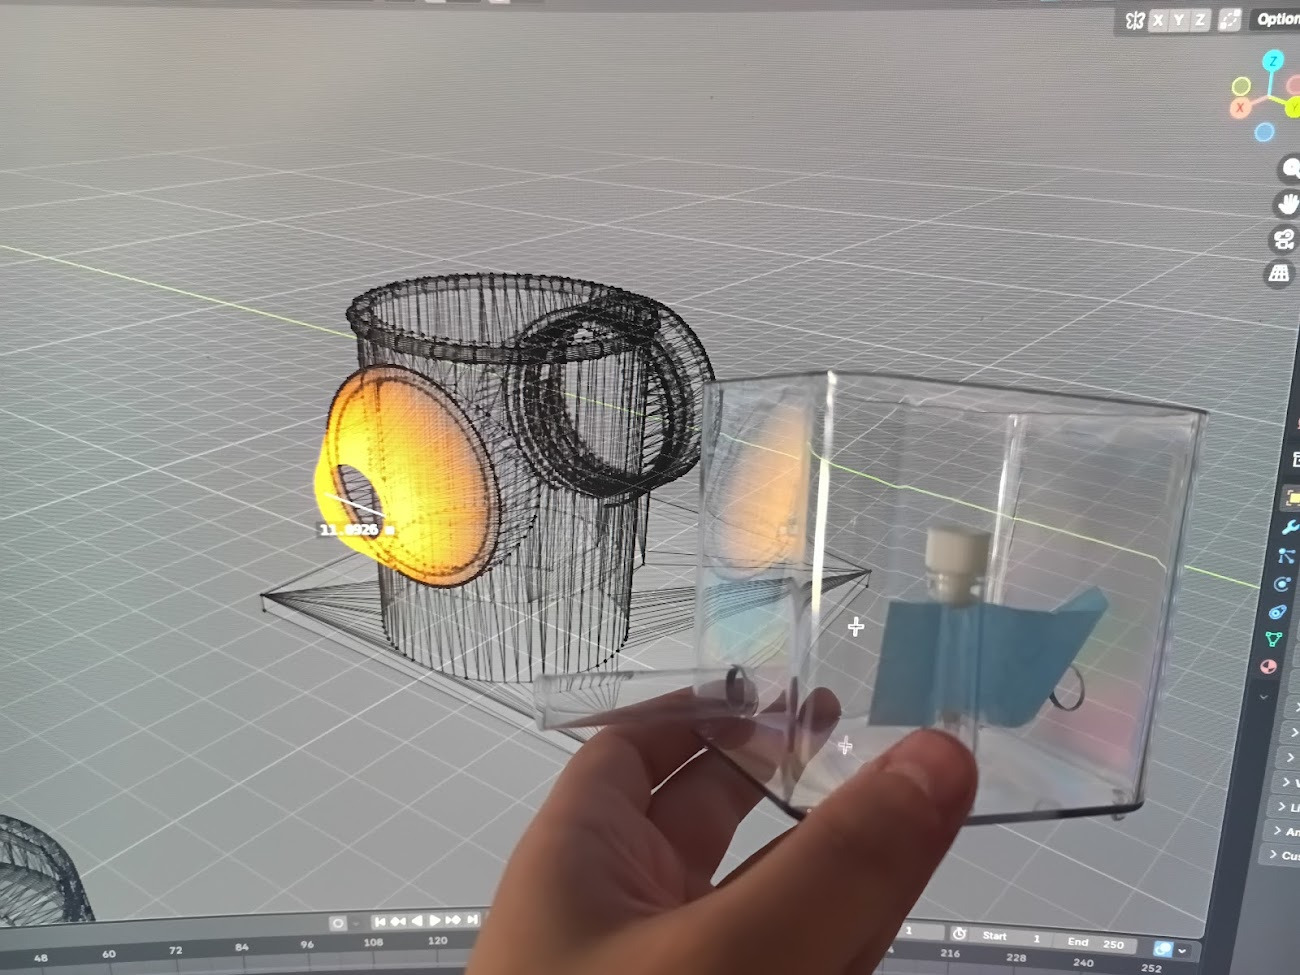
I figured I'd need something to actually connect it to the hole on the side as well, so I extruded and subdivided the opening.
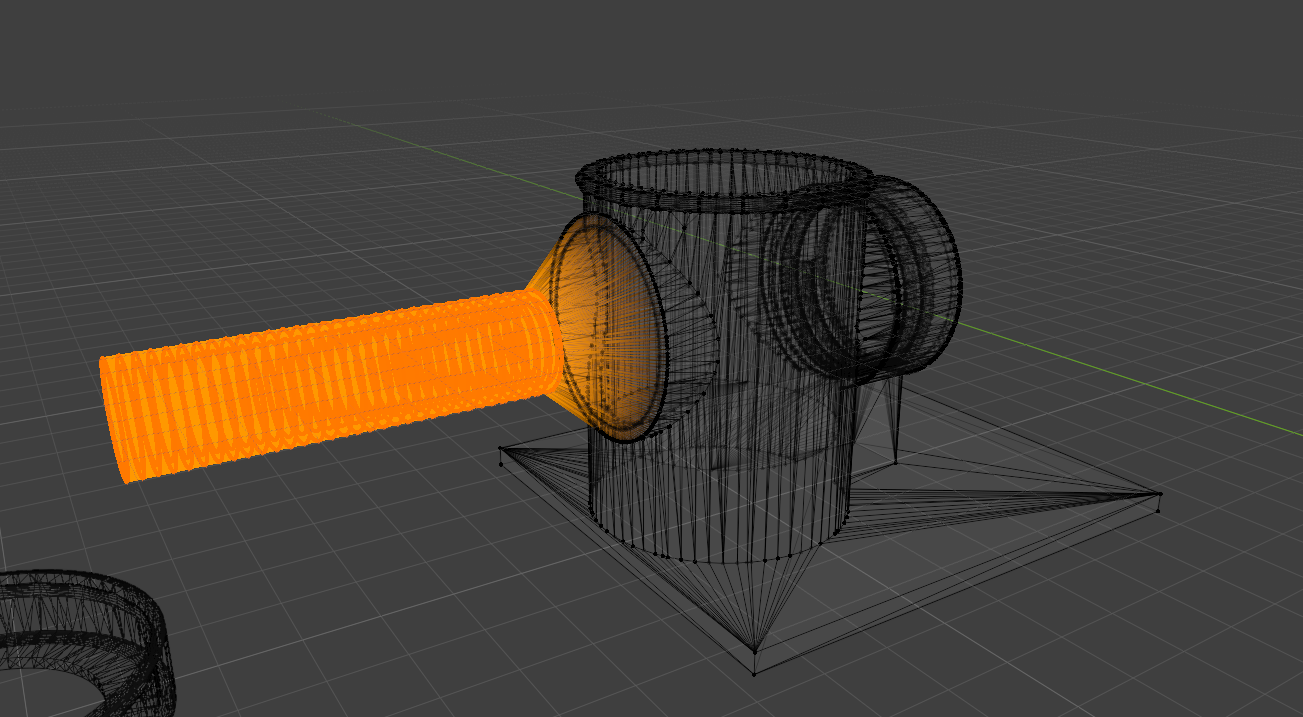
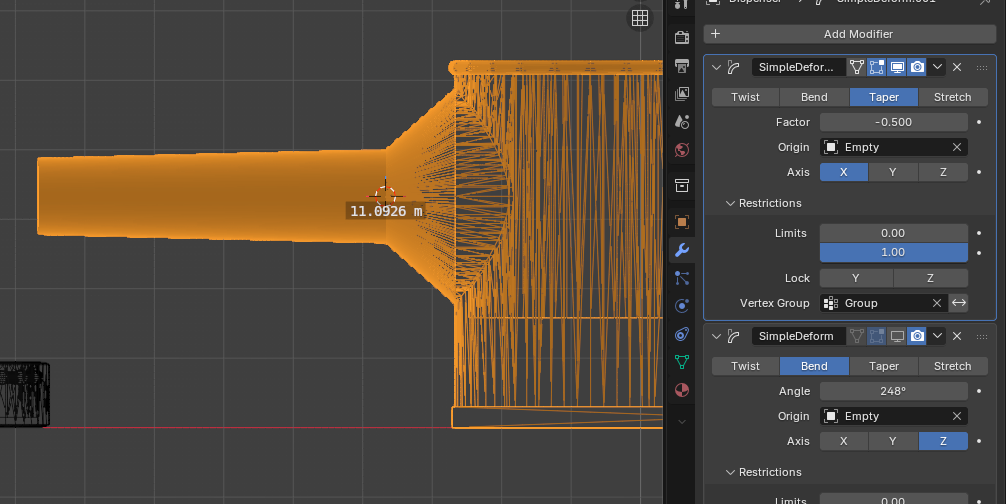
Then I used modifiers to taper the tube a bit as I actually needed the outside radius to plug into the 11mm hole. Ignore that the units are in meters here (Blender default), I never bothered to adjust them to mm so I just append another m in my head!
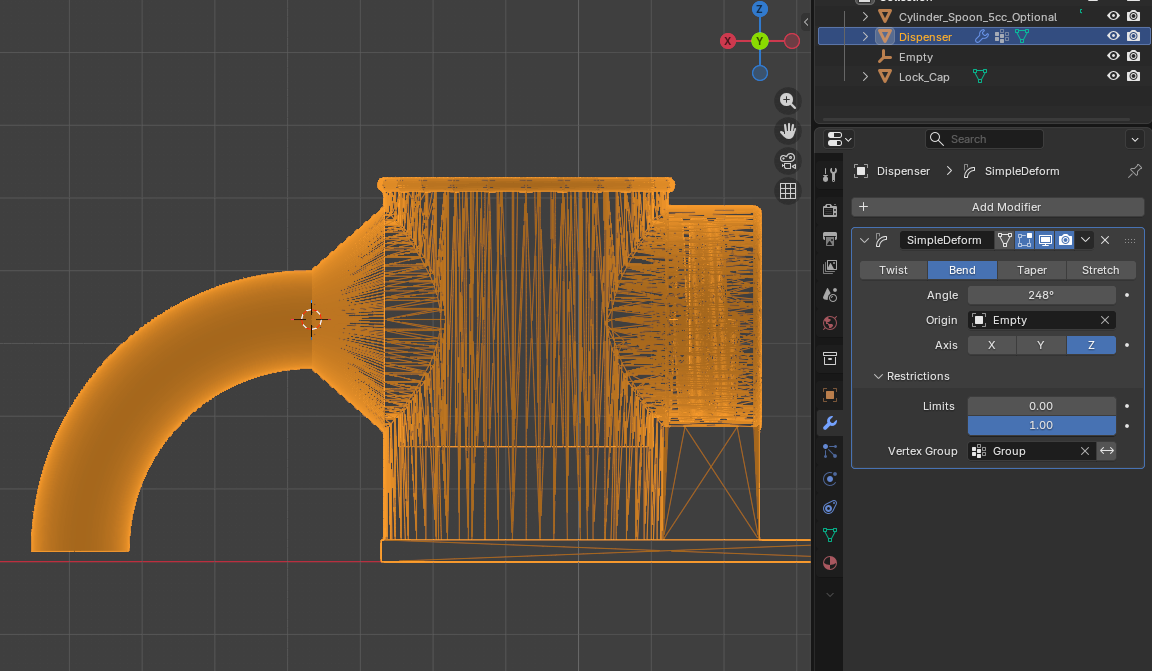
I used a second modifier to bend the tube downward. Yes I know what this looks like.
Then I realised it actually needs to extend into the acrylic container, so I added a little extra, with more tapering so it's a friction fit.
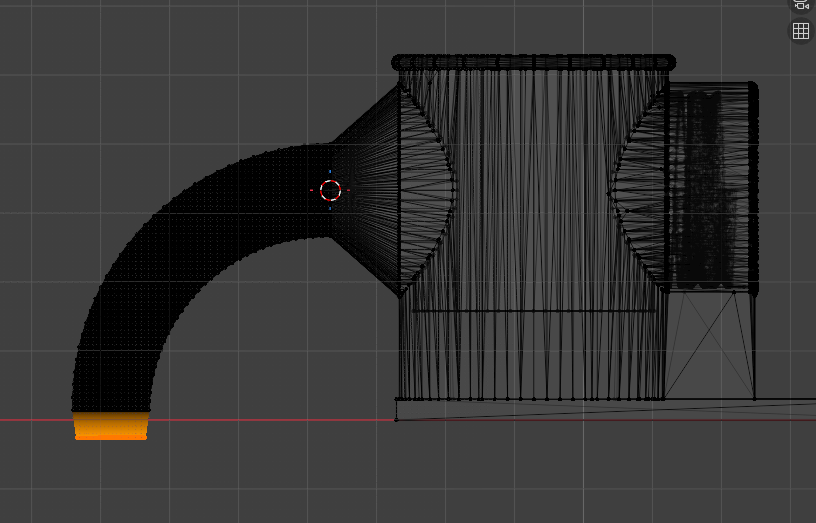
But the whole thing started to feel a bit stupid. It's going to be hard to print this because now I'm below the build plate and would either need to think of a way to add supports in good places or chop the model up and find out how to attach the parts later. Not just that but I know that my printer will struggle on that tube. Plus now I have all these extra tolerances to have to get right!
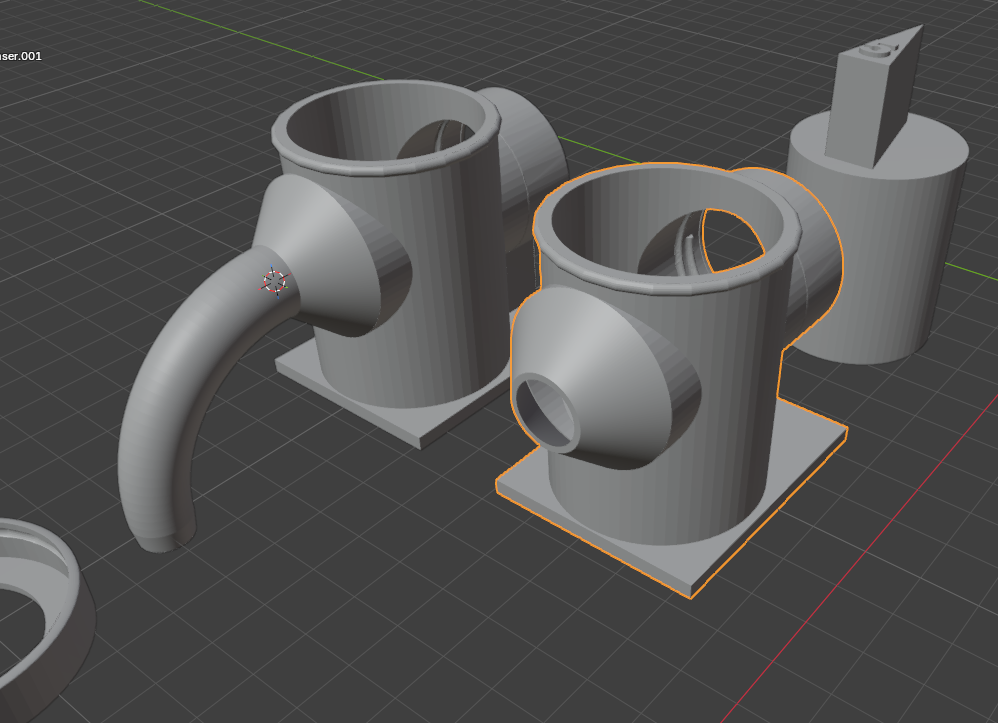
I ended up deciding to actually just remove the extrusion entirely and instead try to use the tubing that came with the container, if I was going to have to attach something anyway. So I printed the first version, and stuck it on the side with a bit of cut tubing attached, and it looked fine at a glance.
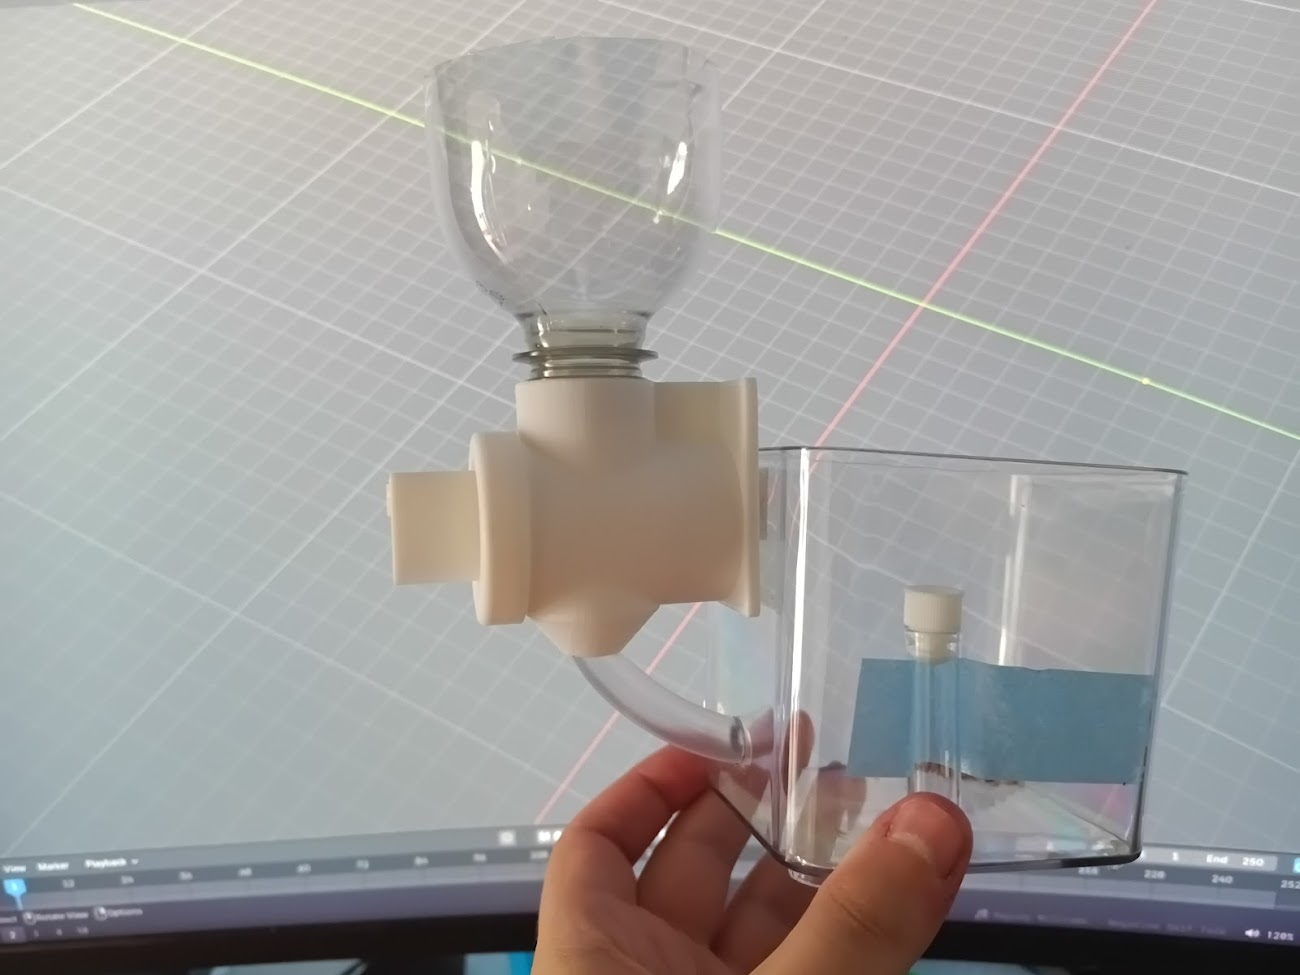 BUT, it was sort of janky and seeds got stuck in the gap between the print and the tube, as well as on the lip of the tube itself. Especially the bigger seeds would create congestion too. Here's an attempt at an illustration of the problem!
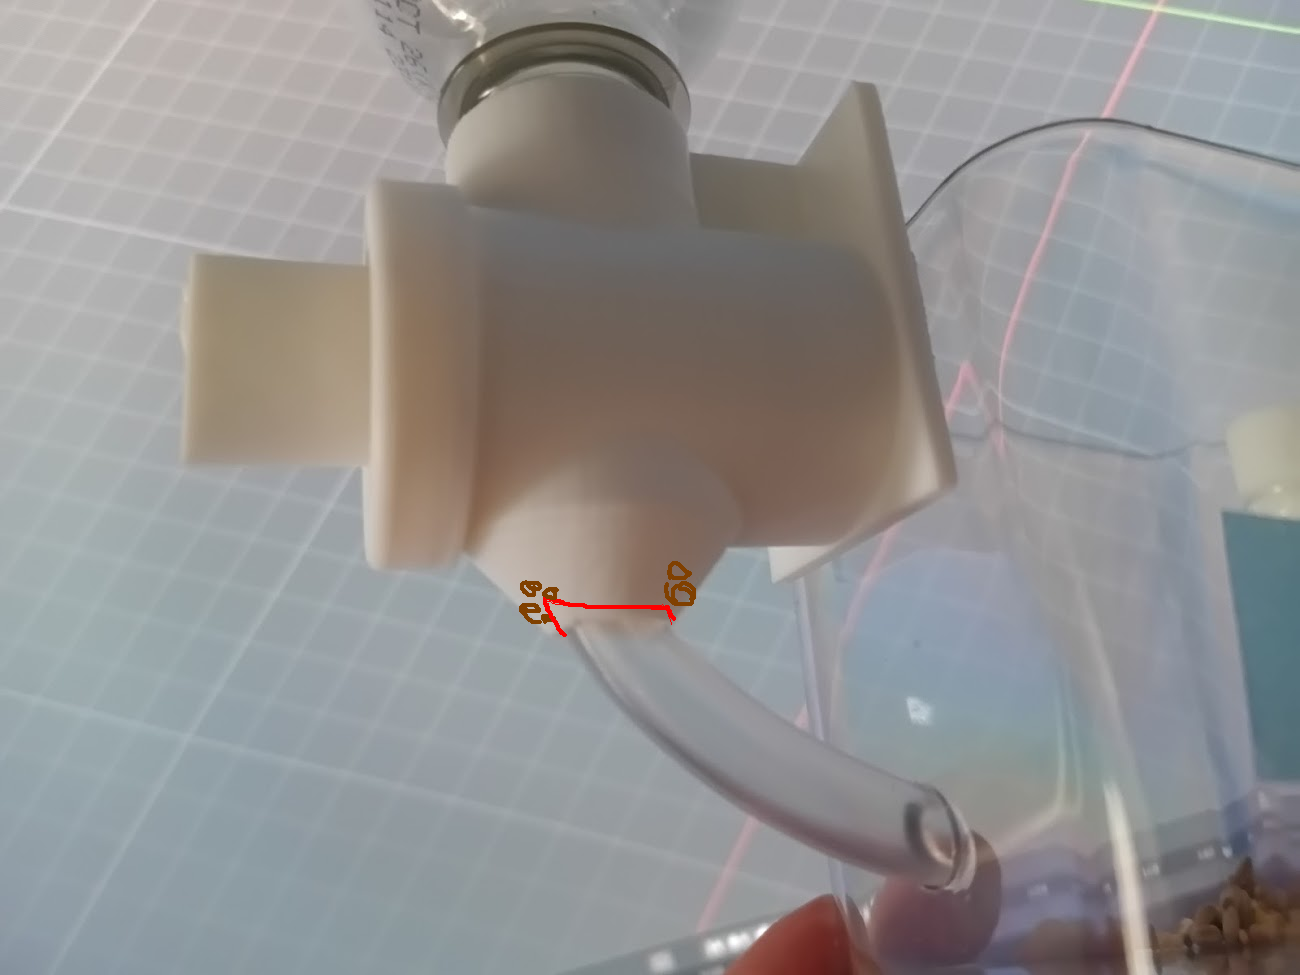
Maybe if the clear tube was connected from the outside, rather than inside? I didn't want to wait for the whole thing to print again, so I tested this idea with a little funnel instead.
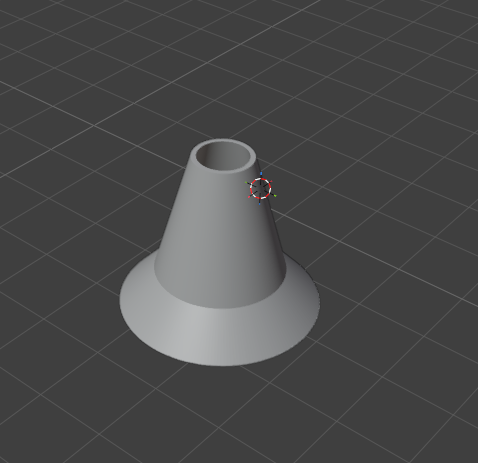
I glued this to the opening for now and gave it a try.
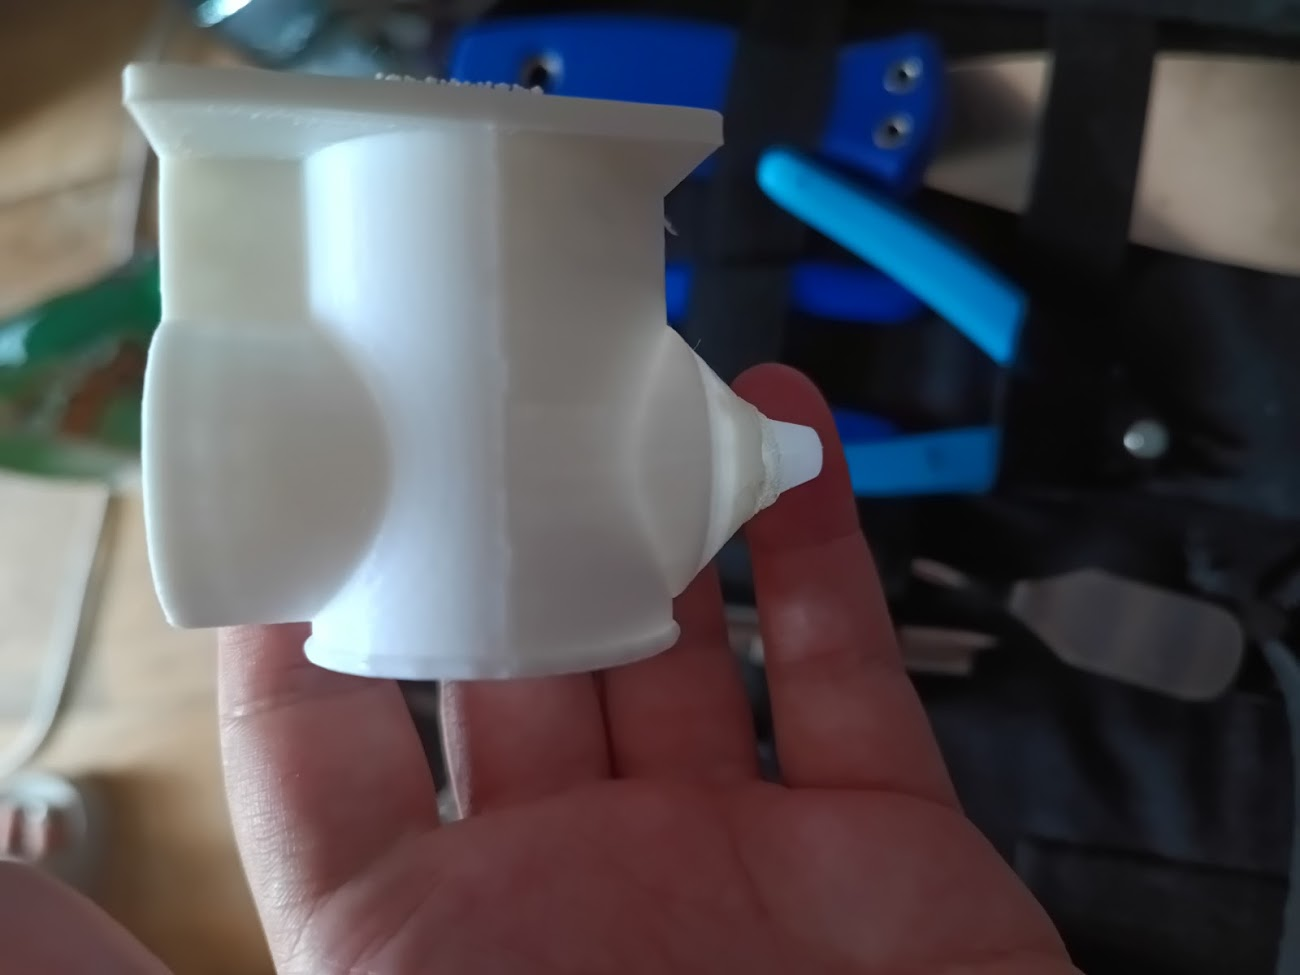
Verdict: even worse. This was a dead end; the radius was just too small for these seeds and everything was getting clogged up every time!
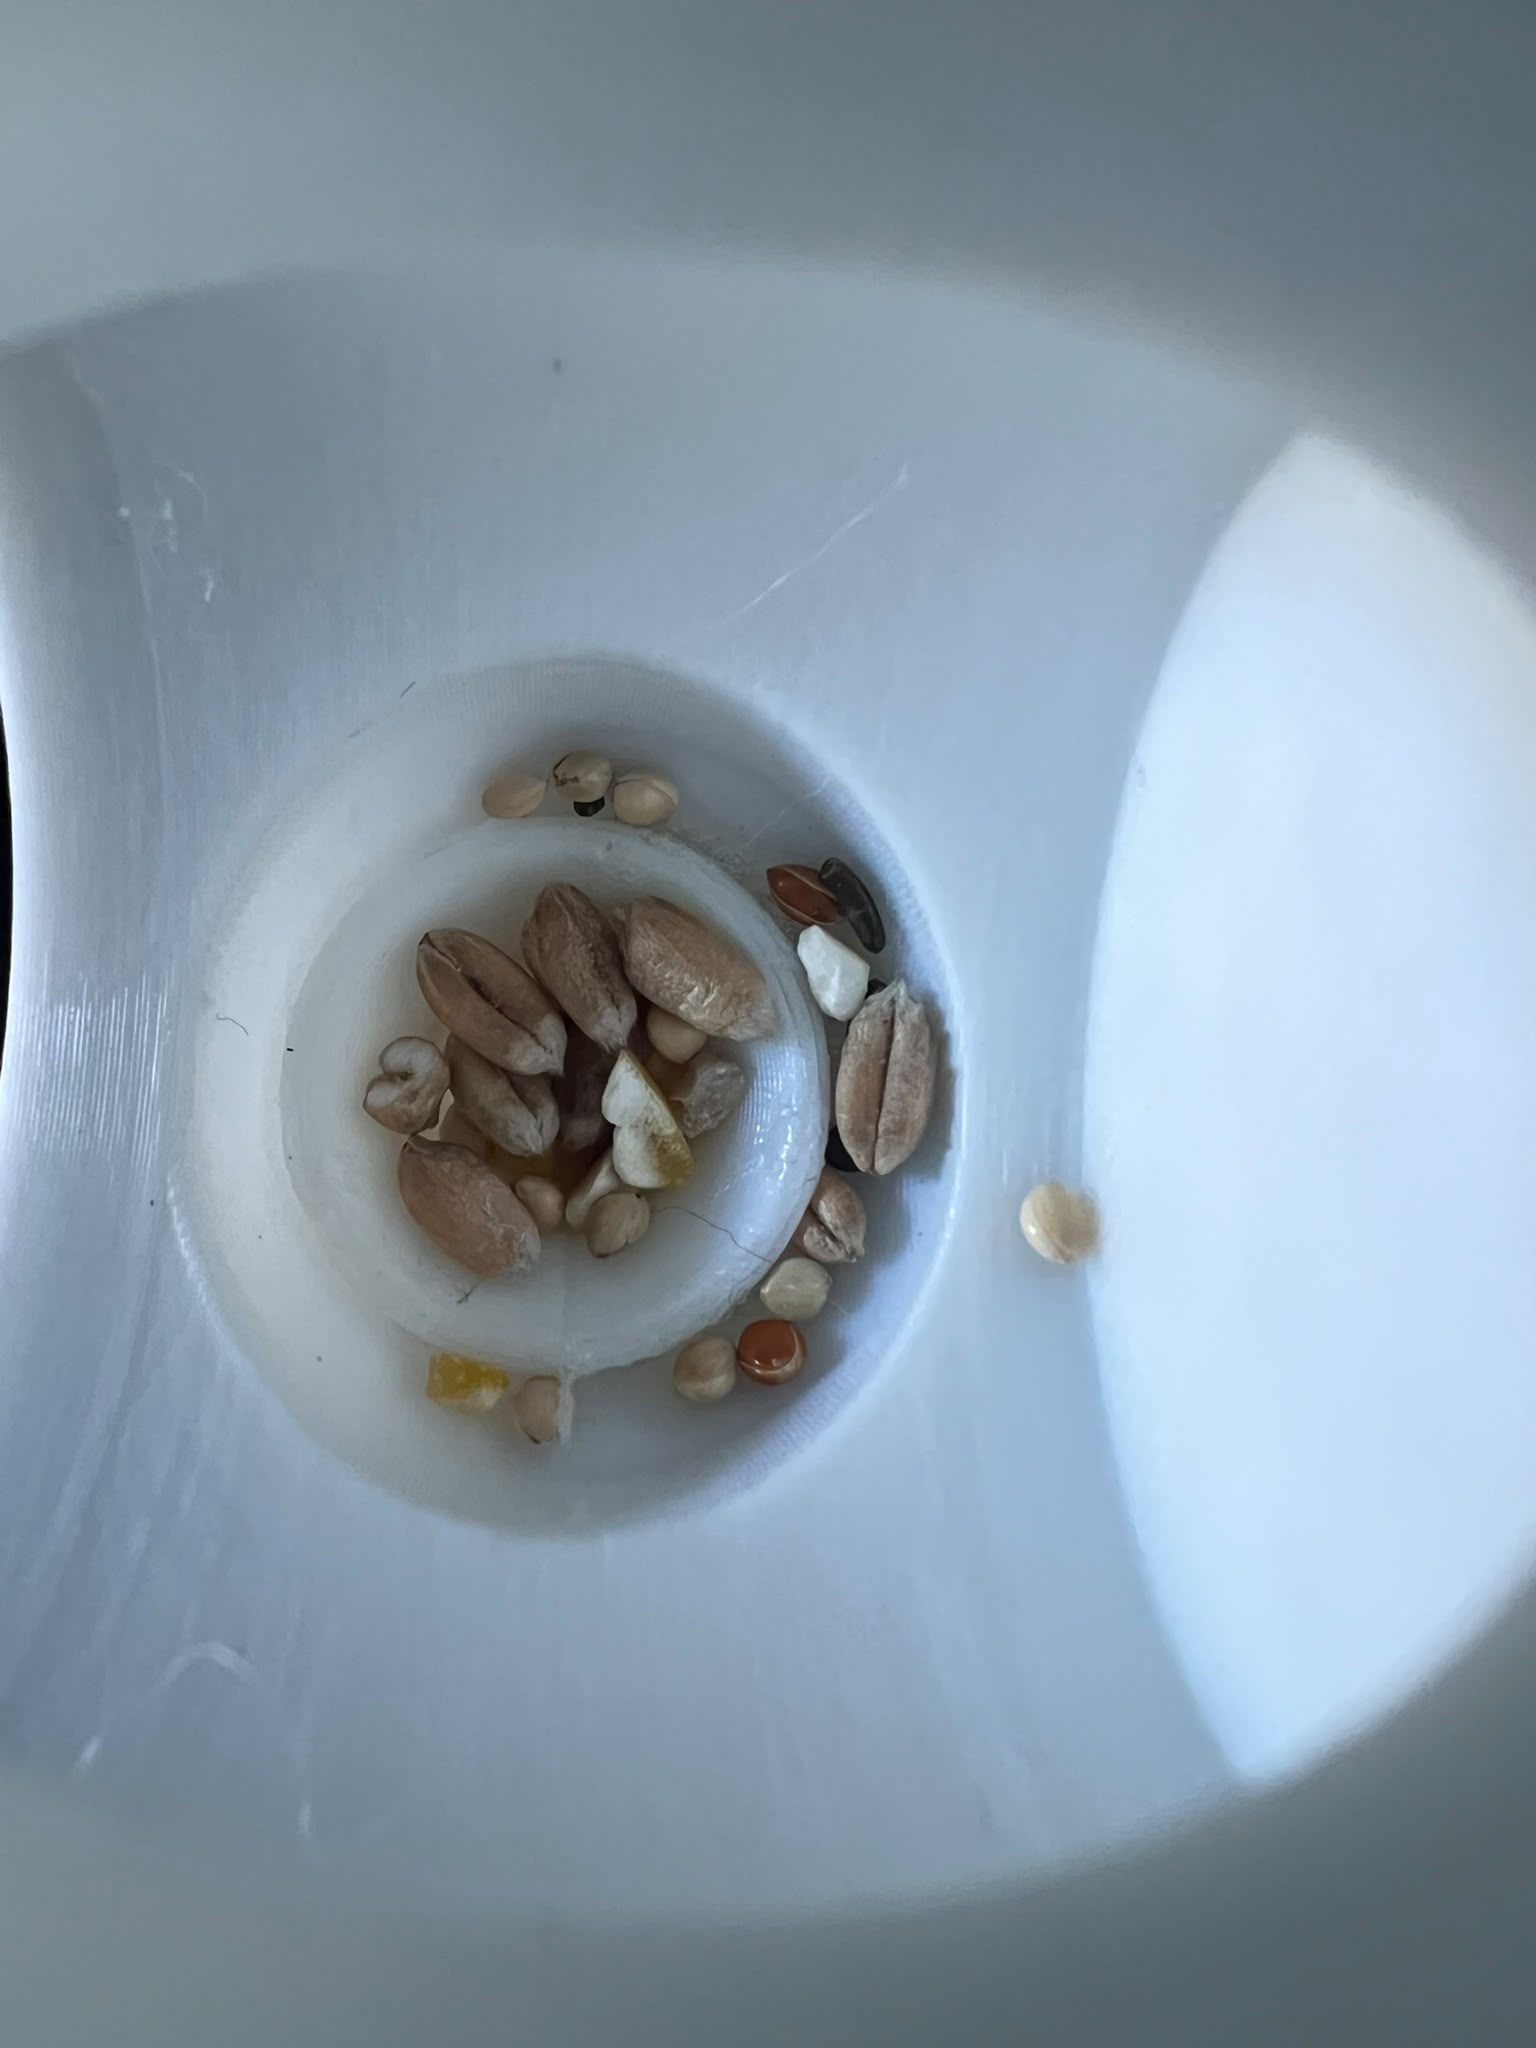
The whole apparatus also just wasn't very stable and there were too many failure points, e.g. the tube slipping off, the whole thing moving as you turn the dial, etc. We considered having the hopper drop into a tray, but really that was just shifting the problem around, as then you'd have to have a horizontal pipe into basically a second container. It's also likely the ants will clog that pipe too with seeds and be crawling in the pipes the whole time as seeds come down. So it was back to the drawing board...
I thought, if I really want the seeds to come from on top, and to have a lot of room for them, why not just replace the lid? This was more work, but might as well do it right. I started by designing a lid from scratch, which was relatively straightforward (a cube and the bevel tool). I wanted to get the size right first, so I made a test print of only the rim (carved the inside out) so that it's fast to print. On my first try, the radius of the corners was too low so it didn't close properly. In this photo, I'm holding my print back-to-back with the original lid.
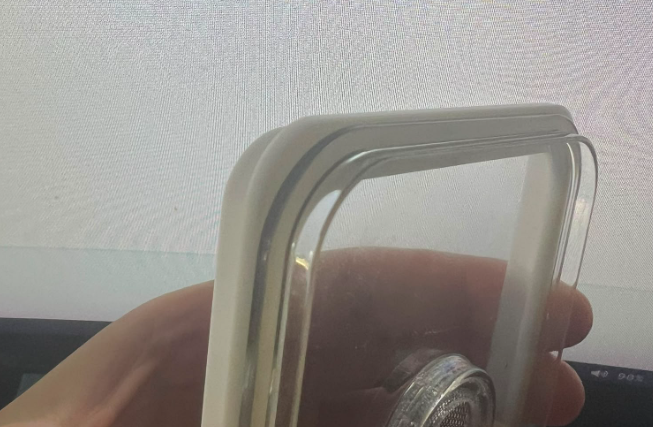
I tried modifying the profile shape as I thought I had measured the radius correctly, but it didn't look right. I thought it really was that the radius was too small, so I eyeballed it a bit and made it bigger. My second try did indeed fit much better, and the radius was probably exactly right now.
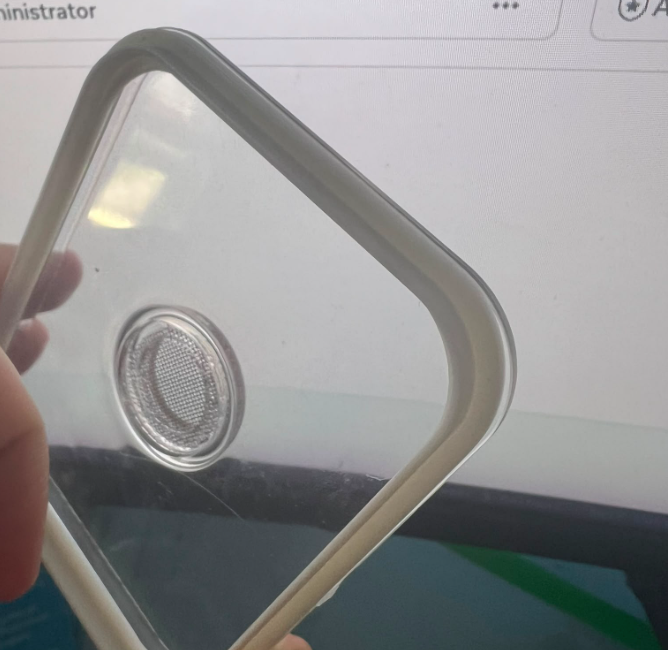
The only issue was that the fit was ever so slightly loose. I wanted it pretty tight so that the ants don't get into the gaps and things don't wobble. I didn't feel like I needed to do another test print, so I simply scaled the whole thing up by a tiny amount so it would fit a bit tighter (spoiler: it ended up fitting perfectly).
The final step was to design the actual lid with the built-in hopper. I took the coffee dispenser hopper and sliced some parts off of it to have just the bit I need. There were holes, but those were easily filled by adding some edges and the fill tool. I also added some secret "engraved" text on the back, since we no longer have that wall-panel part. I made the seeds fall straight down with no "funnel" shape as that was no longer needed. It would just rain seeds.
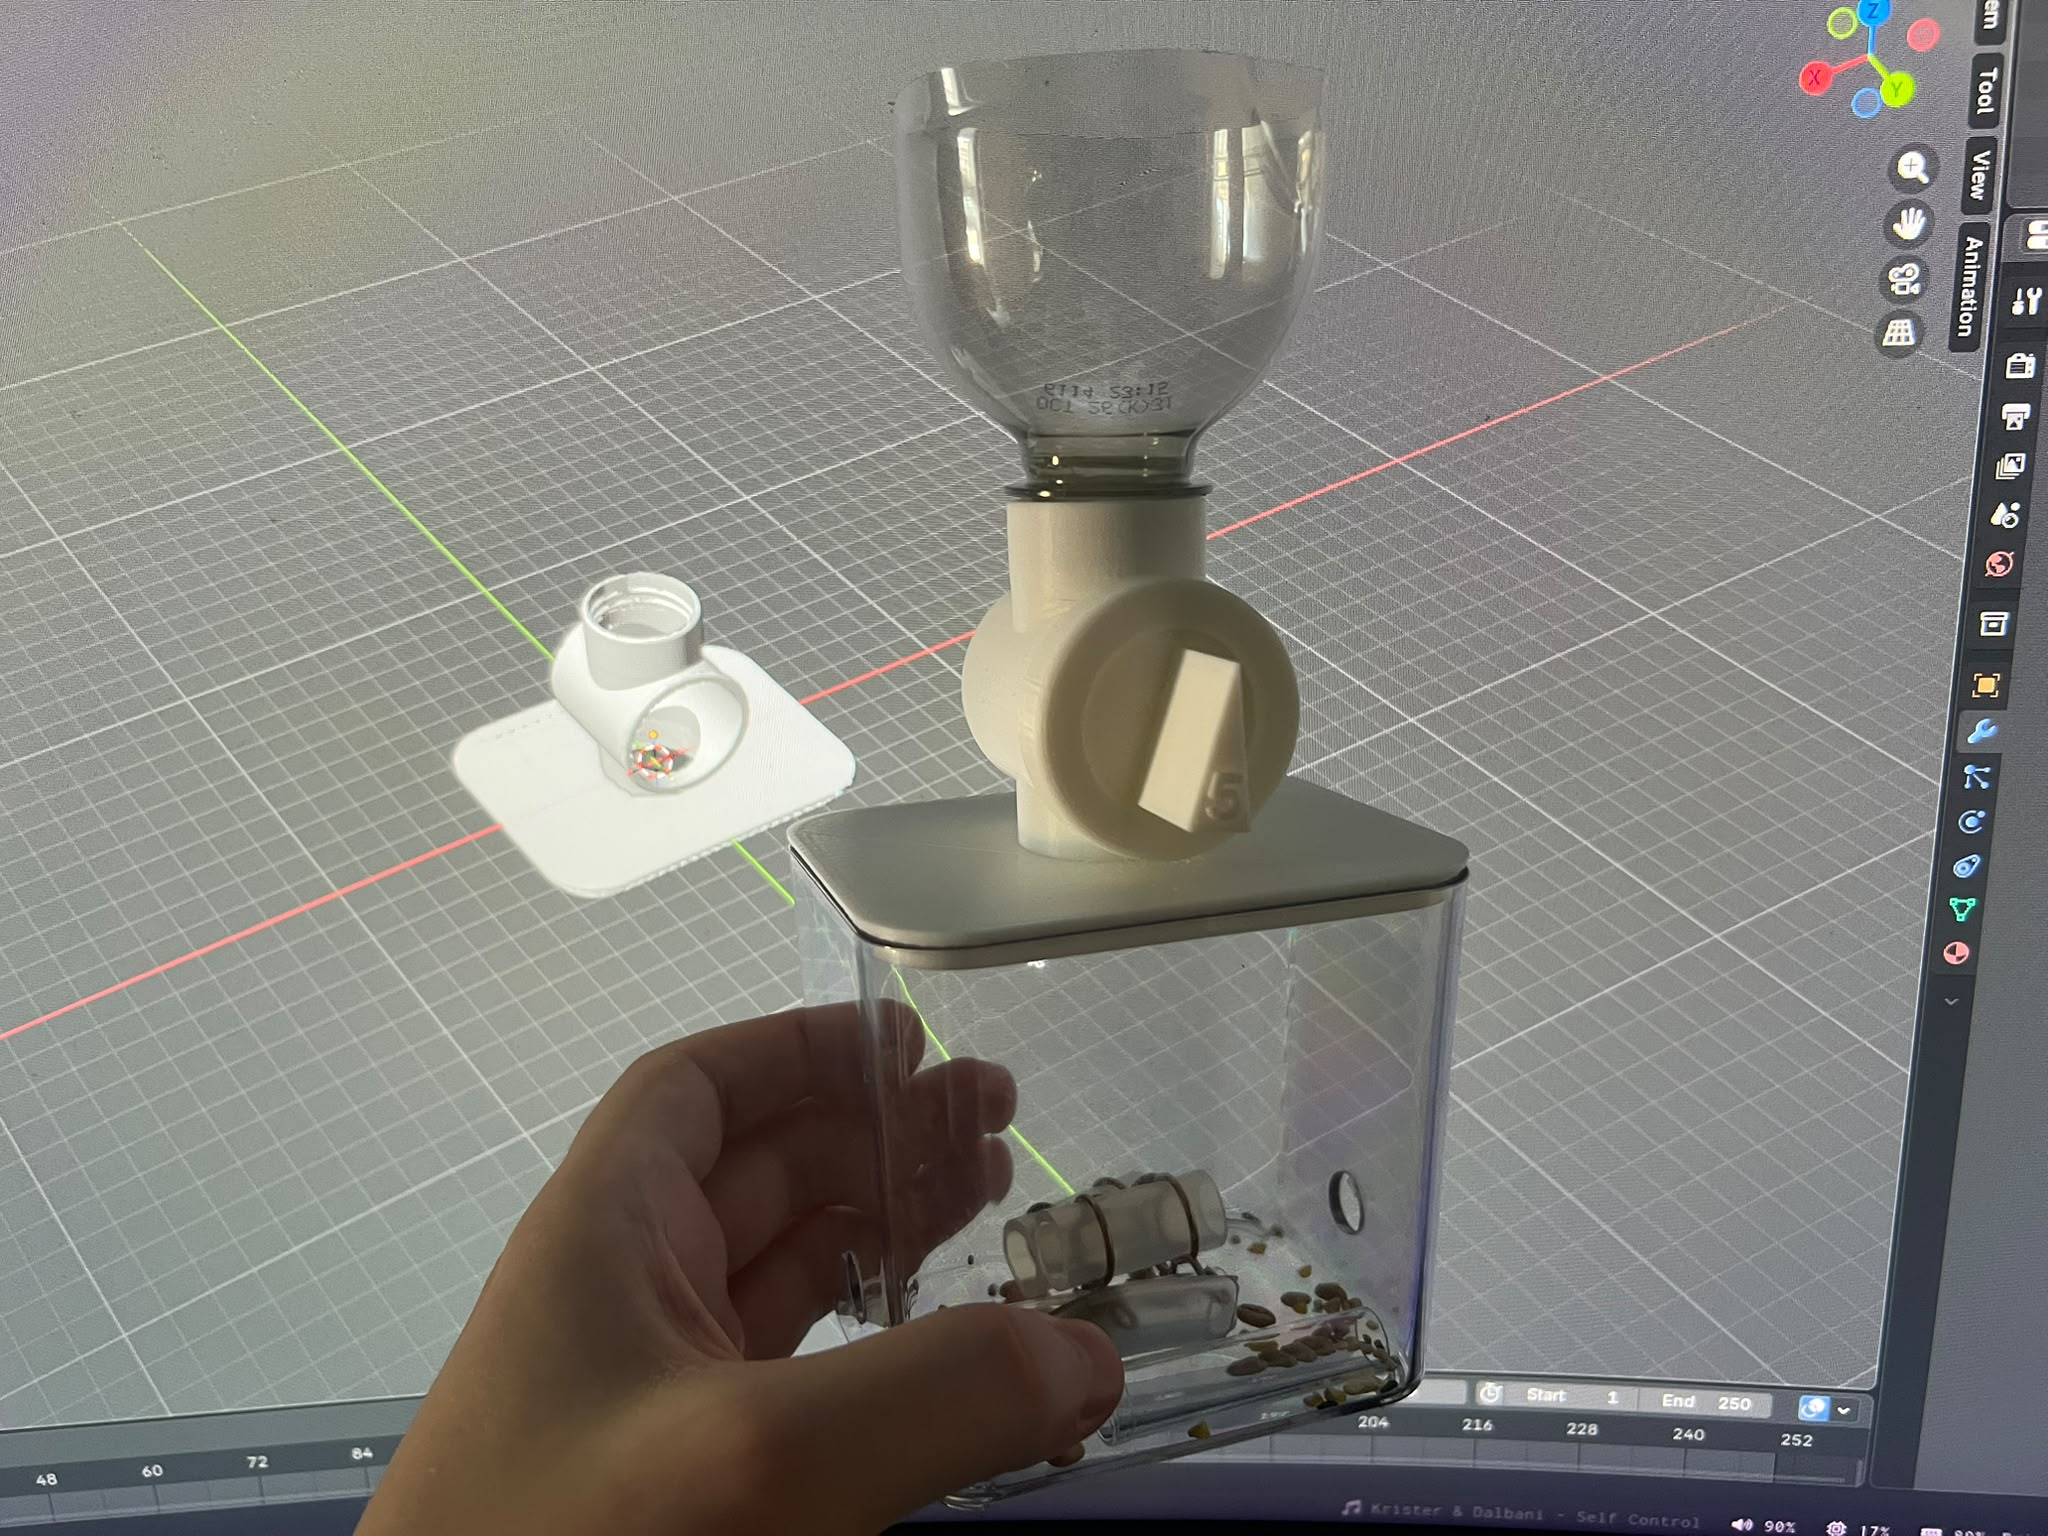
Et voilà! I'm very pleased with how it turned out. It feels like it was genuinely built for this container and is extremely stable and smooth. To be fair, there was a bit of fraying at the overhang-y bits, but those were easily sanded away. I didn't want to have supports on the inside so some of the angles were a bit of a stretch now that the whole thing was rotated 90° compared to the original. But it worked!
In the process I also managed to fix my printer as the nozzle was not very clean and often turned prints into spaghetti. As I was cleaning it, I managed to clog the gears on the inside by pushing molten plastic back into it, so I had to dismantle the whole thing to clean that. Since then, it's been working perfectly. Super pleased of how it came out! Here are the ants enjoying their new environment. The white stuff is Fluon (though it doesn't really do anything).